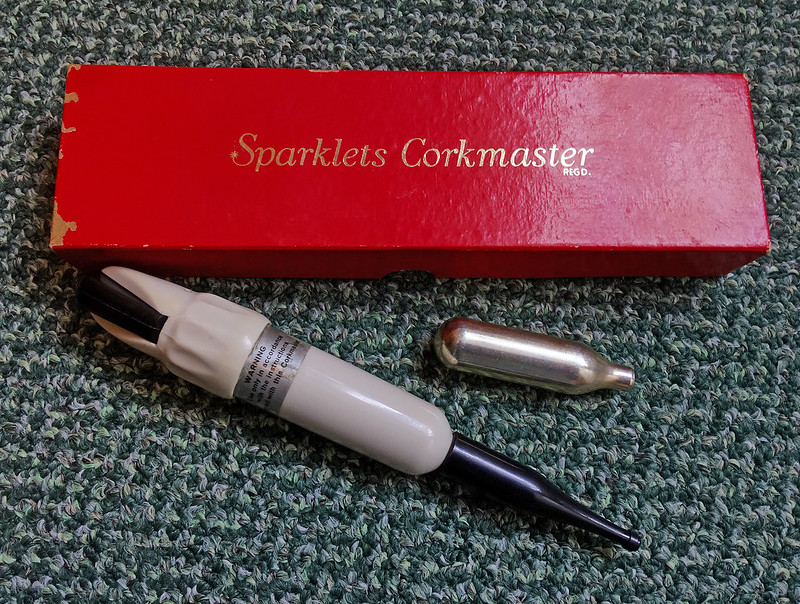
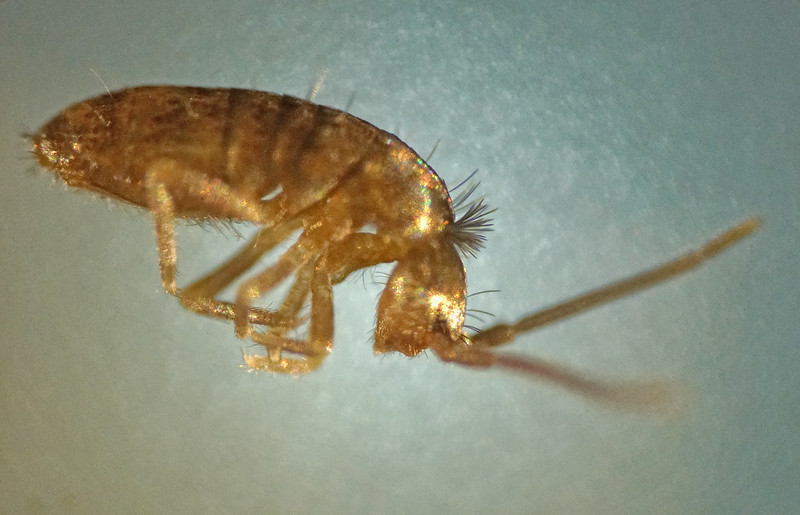
Why would anyone want to photograph springtails? I divide springtail photography into two main sorts, "artistic" - aimed not only at capturing a high quality image of the animal but also details of its behaviour and/or environment (
Example 1 |
Example 2), and documentary - aimed at capturing features of the animal for identification purposes.
There are two problems in photographing these animals - their size (the largest British species is about 6mm long), and that fact that they are very active. Although they don't fly away, when an image is magnified the depth of focus decreases which makes getting a small, active animal in focus very difficult. At magnifications of 1:1 and greater, depth of field is probably only 1-2mm - possibly the same size as the animal itself, and springtails can walk at several millimetres per second! Tricks frequently used for insect photography such as cooling to slow them down don't work on springtails - if anything, cooling them usually makes them more active! For all these reasons photographing springtails with a mobile phone is pretty much a non-starter, although with the addition of clip-on macro lenses, it is sometimes possible to get recognisable images of some of the larger species. Using a compact camera with a macro mode (and some practice), it's possible to identify about half of the larger species most of the time. For a better success rate and for all the smaller species, specialist equipment is necessary.
This is a list of the equipment I use to photograph springtails. This document is not by any means definitive and is constantly evolving as I try to improve my success rate. I have not written this recommending any particular piece of equipment or suggesting that anyone else sticks to what works for me - experimentation and finding the best method for you is needed. Much of this methodology also applies to other small insects and can easily be adapted. I'm also not going to recommend any suppliers as these change constantly, but you won't be able to walk into a shop and buy these items, so Google what you are interested in and buy from the most reputable supplier you can find (which may, or may not, be the cheapest).
Paintbrushes
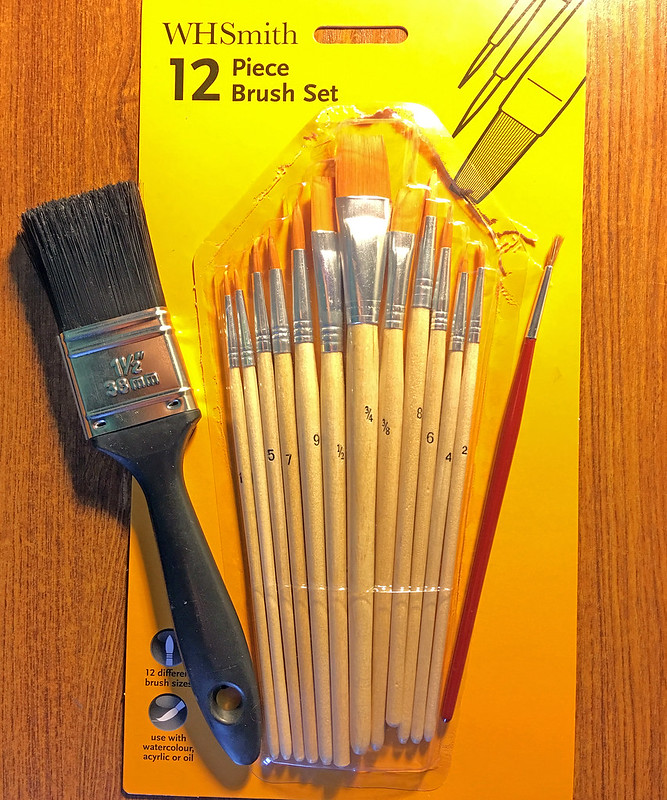
A frequent method of handing small insects is to use a pooter suction device. For springtails, I prefer to use paint brushes. A one inch paintbrush is very useful for harvesting springtails from logs, rocks, tree bark etc - just sweep them gently into a container. Small artist paintbrushes are good for gently wrangling springtails and persuading them to go in the direction you want! You can also use a wet artist brush to pick up springtails, although some species may lose scales which stick to a wet brush (e.g.
Tomocerus). For these species it is better to persuade them to climb onto a dry brush to move them around without damage.
Compact Cameras
With practice, you can produce good images of the larger species using a compact camera with a macro mode. Clip-on Raynox lenses can produce some very good images and are a low cost solution, but they do have a very shallow depth of field and are quite tricky to use. Cameras without manual focus can be hit and miss and you'll need good light (something that springtails generally try to stay away from) to get good results.
Macro Lens and Flash
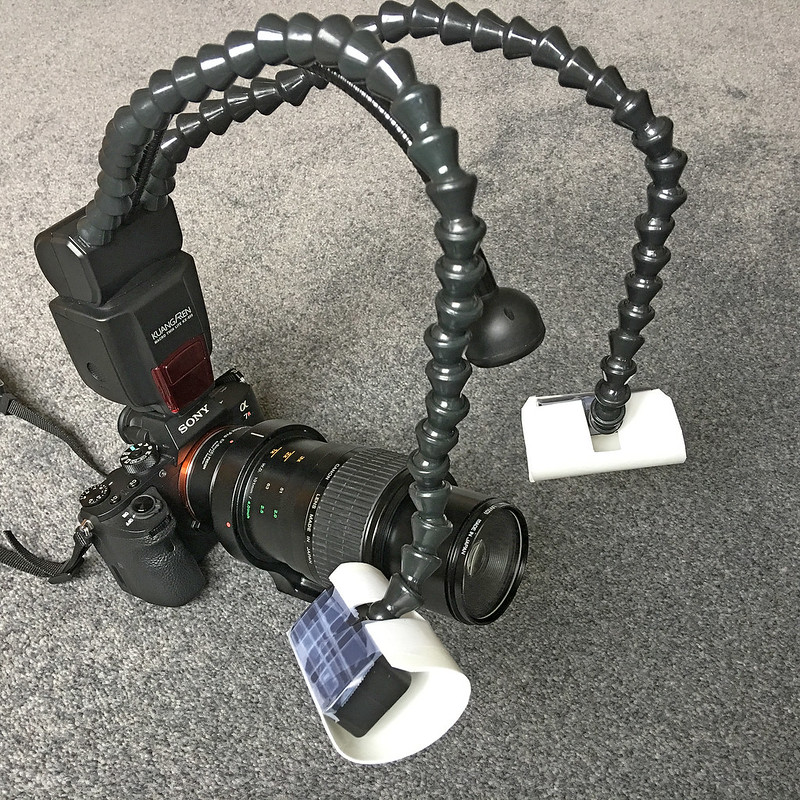
Interchangeable lens cameras (DSLR and mirrorless) allow the use of dedicated macro lenses. I have a "standard" macro lens which allows magnifications of up to 1:1, i.e. the image formed on the camera sensor is the same size as the real object. This is good for common species with recognisable features or patterns, but this will not produce images which allows identification of most species. Specialist macro lenses such as the Canon MP-E 65mm and the Laowa 25mm Ultra Macro Lens allow magnifications of up to 5:1 which aids identification of a wider range of springtails, including the smaller species. These lenses are difficult to use for two reasons: first the depth of field is very small and magnification makes motion blur a big problem, second because they are very light-hungry, so to produce usable images a flash is necessary, allowing higher shutter speeds to be used. A standard (or built-in) flash does not work, partly because the springtail is likely to be in the shadow of the lens itself, but also because they create very harsh lighting as such close range which obscures any detail in the subject. Flash needs to be directed and heavily diffused using some sort of home-made diffuser, or a specialist macro flash unit is needed. The Canon Macro Twin MT-24EX is very good on Canon cameras (and very expensive), but I use a Venus Optics KX800 Flexible Macro Twin Flash with 1mm thick craft foam diffusers to produce softer light and preserve specimen details. This specialist setup is pretty cumbersome and I don't use this in the field, only on collected specimens in more controlled conditions.
Example 1 |
Example 2
Microscope Adapter
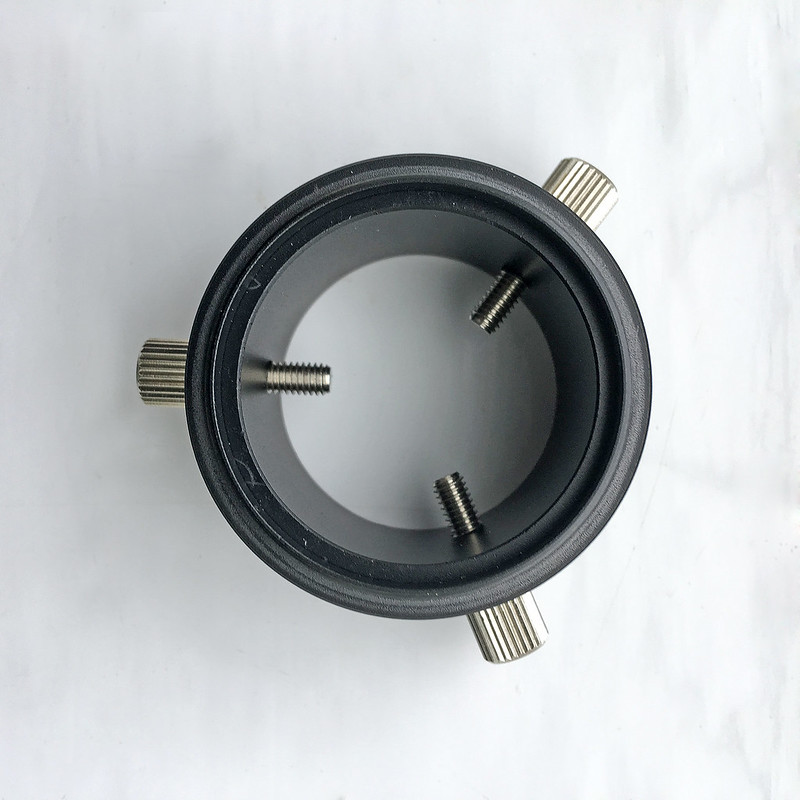
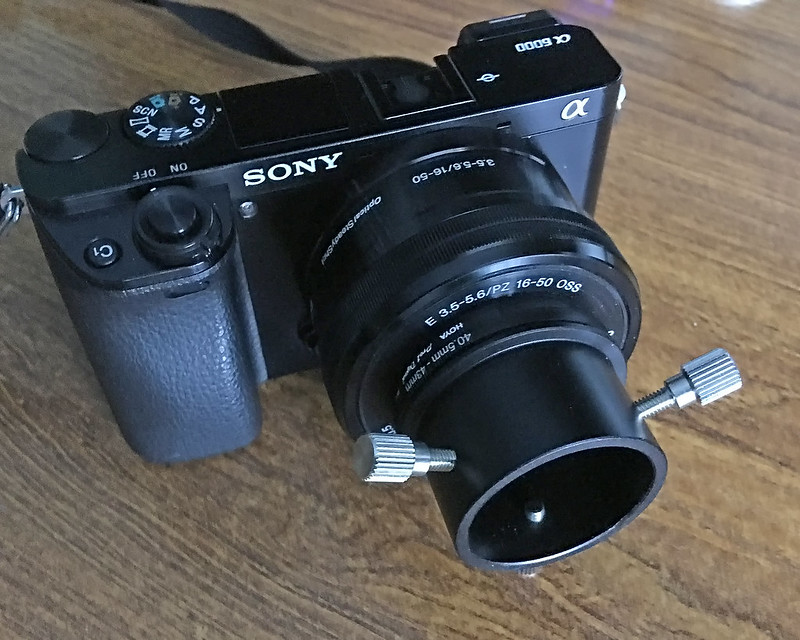
To identify a wide range of species you're going to need a microscope (see below), and a camera to capture images of what you see. I use this simple mechanical adapter which screws onto the front of a 50mm lens (see above) to attach my camera over the eyepiece of the microscope. Compact cameras can work very well for this, or you can also buy microscope-specific USB cameras to capture images directly to a computer.
Microscope

Low power binocular microscopes are very useful for examining springtails, but to visualize details of morphology frequently needed for identification, higher magnification is needed. I use a low-cost (for a microscope!) Apex Practitioner monocular microscope, giving magnifications of 40-800X. I can examine whole springtails at 40X magnification and use 200X or 400X magnification for features such as teeth, setae and ocelli. Lighting is experimental. Sometimes the transmitted light from the sub-stage LED system can produce good results but mostly reflected light is needed (or a combination of the two). I use two or three Ikea JANSJÖ LED lights with craft foam diffusers and play around with the lighting until I can highlight the features I'm looking for. You'll need to use a remote release and have the setup on a firm surface as vibration is a big problem at high magnifications.
Example 1 |
Example 2
Focus Stacking
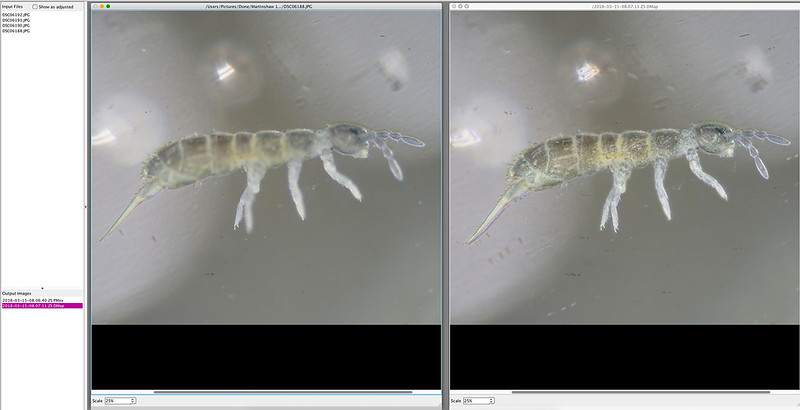
Whenever you magnify an image the depth of focus decreases. At magnifications greater than 1:1 the area in focus is often only 1mm deep, so if you're trying to photograph something bigger than this, you can't get it all in focus in one shot. Using a microscope, depth of focus is even smaller. There's no way around this problem, it's the laws of physics. Well actually, there is a way around. Using focus stacking software you can combine multiple images each with a slightly different focus to produce a composite image which is all in focus. You can do this using Adobe Photoshop, but specialist software such as Zerene Stacker (which I use) or Helicon Focus does a better job. This can get quite technical but it's an unavoidable part of ultra-macro photography.
Example 1 |
Example 2
70% Isopropanol
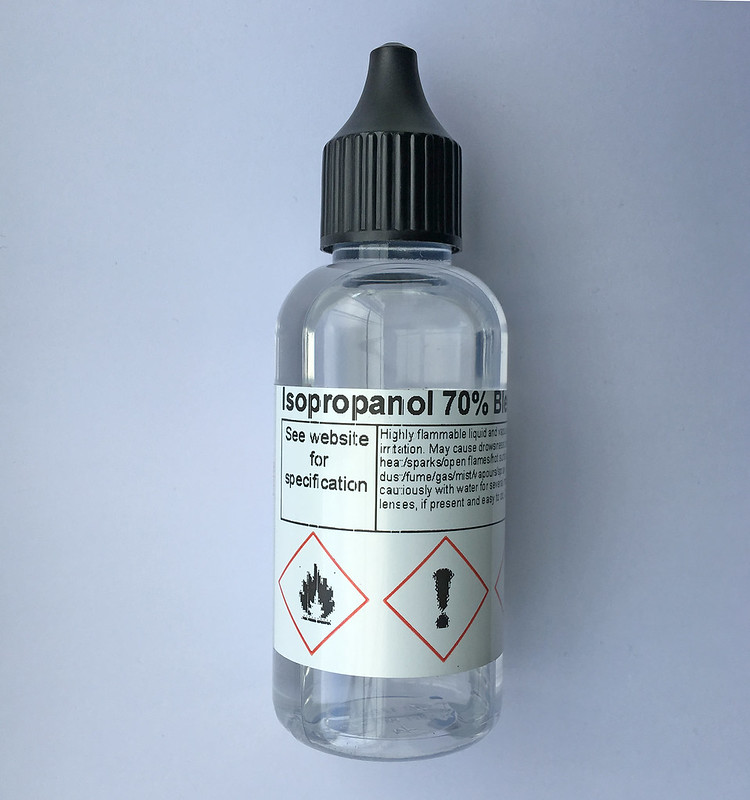
70% isopropanol is usually used to preserve springtail specimens and is available online. For long term preservation 95% ethanol is recommended, but this is virtually impossible for private individuals to buy. Vodka or gin will do in a push but you can buy 50ml of 70% isopropanol in a handy dropper bottle for a lot less. Needless to say (?) isopropanol is toxic and should not be consumed!
Microscope Slides
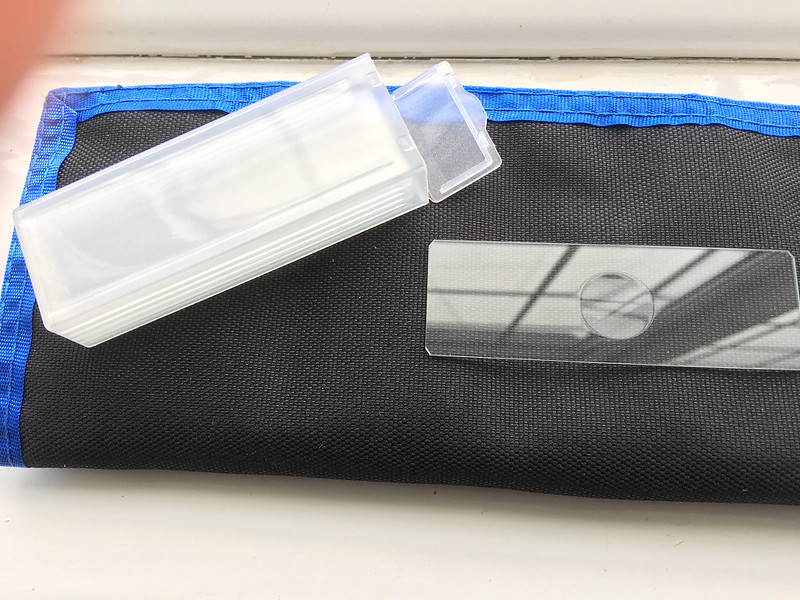
For microscopy, standard microscope slides can be used. However, if you float a specimen in a drop of liquid it can move around and this can make focus stacking difficult. Putting a coverslip on top of a springtail will crush it, so well slides are useful. These have a shallow depression on one side and can hold small specimens more stably.
Example 1
The other type of well slide involves making a small corral with Blu Tack or plasticine. Plain microscope slides are best for this as they are flat and all on one focal plane:

Gently transfer a springtail into the corral with an artist brush and place another flat slide on top (use a slide as cover slips are too thin and will break). This requires patience and generally takes a few goes as springtails normally manage to jump out a few times before you get the lid on. Alternatively you can use paper or a leaf as the lower surface if you won't be examining it under a microscope and would like a more natural background with less reflections. When the animal is safely corralled, place the assembly on a flat surface and gently but firmly press down on the top slide until movement begins to be restricted - be careful not to damage or squash the springtail. The slide can now be photographed, or examined using a hand lens or under the microscope and it is easy to turn the slide over to examine ventral details. While this isn't the best method to obtain high quality photographs, it does save a lot of time if you need record shots of a large number of specimens and it also allows high magnification of living specimens. After examination the animal can be released unharmed:
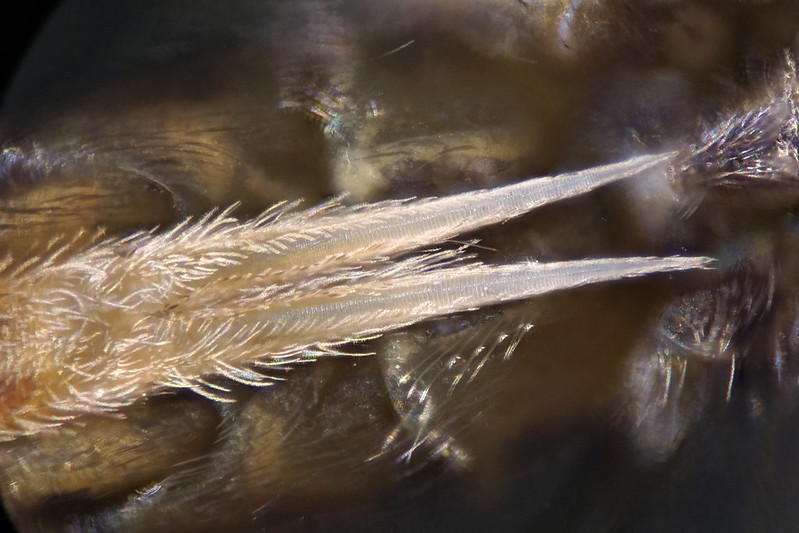 Orchesella cincta
 furcula
Any questions, and even more important - is there anything I have missed?